Wednesday, 3 December 2014

Bibliography

Books 
  • Ann Charles & Roger DeAmfrasio, (1970), ‘The History of Hair’, New York: Bonanza Books 
  • David Williamson, (11 January 2011), ‘History of the Kings and Queens of England’, National Portrait Gallery
  • Georgine De Courtais, (1973), ‘Women’s Hats, Headdresses and Hairstyles With 453 Illustrations, Medieval to Modern’, Dover Publications
  • Guido Palau & Tim Banks, (2014), ‘Hair:’, Rizzoli International Publications, Incorporated
  • Jean Keyes, (1967), ‘A History of Women’s Hairstyles 1500-1965’, Methuen 
  • Victoria Sherrow, (2006), ‘Encyclopedia of Hair: A Cultural History’, Greenwood Publishing Group
Internet 
  • Another Mag, (25 September 2014), ‘Guido Palau: Hair - In Pictures’, http://www.anothermag.com/current/view/3944/Guido_Palau_Hair
  • Chertsey Museum, 'The Styling of Society', Chertsey Museum, http://chertseymuseum.org/hair
  • ‘Inch Hair Designs’, http://inchhairdesigns.com/members-view/sarah/
  • L.K. Alchin, (16 May 2012), ‘The Meaning Of Colour - Within Elizabethan England’, http://www.elizabethan-era.org.uk/meaning-colors.htm
  • Micheal Palmer, ‘Ask The Expert - Indira Schauwecker’, http://www.salonsdirect.com/blog/indira-schauwecker/
  • Paris Modes TV, (2013), ‘Alexander McQueen Fall/Winter 2013/14 in Paris’, http://www.parismodes.tv/alexander-mcqueen-collection-femme-automne-hiver-201314-a-paris/?lang=en
  • The Belgravia Centre, ‘Playing Elizabeth I: The Hair Loss Monarch’, http://www.belgraviacentre.com/blog/playing-queen-elizabeth-i-the-hair-loss-monarch/
Films
  • Ridley Scott, (25 May 1979), ‘Alien’
  • Shekhar Kapur, (October 2 1998), ‘Elizabeth’

Assessment - Self Evaluation of Role as Hair Stylist

I feel that the assessment overall was successful and I was able to create a hair style that reflected the design Grace had given me prior. In particular I felt that the final effect of the frizzing and use of pearl decoration within the final design was particularly successful and added an effective finishing touch to the hair style. Within the assessment I made the decision to increase the amount of frizzing used at the back of the hair as Grace desired more volume behind the pin curls. The problem that I came across in the assessment was getting some of the pin curls to sit properly flat against the face, this was not something that had happened in practice sessions but I feel this was probably due to not being under a time limit. 
Preparation was an essential part of getting this look completed within the hour time limit as due to the length of Grace’s hair, getting it crimped and into rick rats alone took an hour and this made up the whole back of the design. I feel that time management was my biggest success in enabling me to complete the hair style on time and effectively to the design, in addition practicing the look over before the assessment meant my technique was more polished in the final assessment. Overall I feel the assessment went well and I was able to complete the style on time and to the brief.

Assessment - Grace Donnelly's Final Images (A) - Hair Stylist Charlotte Logue (B)

Saturday, 29 November 2014

Assessment - Evaluation of My Design Final Images (B) - Hair Stylist Grace Donnelly (A)

Grade Given - B2
I felt that overall Grace executed my design well during the assessment and was calmly prepared with all the tools required to create the look. The main challenge with my design was to create the small tight curls at the top of the head which involved a great deal of tiny sections and an agile curling technique, regardless Grace did a good job executing the small curls that remained relatively symmetrical across the whole head with even the baby hairs hidden. The hair piece itself was also attached securely despite having small fiddly anchor points, this meant that I was able to move from one room to another relatively comfortably. I feel that this was mainly due to practising of my design inside and outside of class time where we were able to communicate and deal with any issues that would arise when attaching the hair piece. Despite executing my final design well there were elements that could be improved, mainly her use of time management. As I was unable to communicated during the assessment I found it challenging when Grace appeared to be spending to much time fiddling with pieces of hair that didn't require any additional attention. I felt that as a result the final tweaks of the hair piece itself were rushed. In future Grace needs to focus on completing the design in a comfortable time limit that wasting time fiddling with unnecessary elements of the design that don't require amendment leaving other elements rushed. 

Saturday, 22 November 2014

Assessment - Grace's Practice of My Design Part 2 (B)

I feel that this practise was more successful than the last as the incorporation of the hair piece and spray created a more polished example of my intended final design. The creation of the curls went much smoother on this practise compared to the first attempt as a smaller barrel was used on a higher heat setting. This enabled the curls t be more symmetrical and even which was essential for my design, however we did encounter some issues with baby hairs and realised that a wax would have to be used (like on the sides) to push them up into the curl so they remain hidden. The silver hairspray used to colour the top section of the curls was also successful and helps with blending the metallic texture of the hairpiece into my own hair. From this practise Grace and I realised that in order for the hair piece to remain secure it would have to be placed slightly higher up on the head as where it was sat within these images it started to slip from the back of the hair. Also the hair was slightly too short to plait securely therefore we decided that backcombing the small strips of hair would create a securer pinning point for the hair piece. 

Assessment - Grace's Practice of My Design (B)

Friday, 21 November 2014

Assessment - Notes For Grace (A) of Tools and Instructions For My Design (B)

Equipment List
  • Small Barrel Curlers
  • Sectioning Comb
  • Dark Kirby Grips
  • Protective Cape
  • Sectioning Clips
Products
  • Silver Hairspray
  • Gel/Wax
  • Strong Hold Hairspray
  • Pre-made Hairpiece 
Step by Step
  • Place a protective cape around the client to protect their clothes from any heat or product.
  • Run a consultation to ask about any contraindications/allergies/medications and general questions about the clients hair type etc.
  • Gently comb the hair through to remove any knots and tangles.
  • Turn on curlers.
  • Divide the longest top section of hair from the sides going back into a triangular shape towards the back of the crown.
  • Working from the back of the head curl the hair using numerous small sections and ensure each curl is symmetrically rounded.
  • DO NOT BRUSH OUT THE CURLS.
  • Work towards the front of the head positioning the curls to create a harsh hairline.
  • Once the curls have been completed take a thin section at each side and gently backcomb the hair.
  • Then twist the hair into two small anchor points for the hairpiece.
  • Attach the hairpiece ensuring that it sits high onto the triangle shaped hair. 
  • Pin securely into the anchor points using kirby grips.
  • Once secure, spray the front of the hair with hairspray to hide any fly away or baby hairs.
  • Spray the curls with silver hairspray.
  • Finish the sides with a gel or wax to create a smooth finish. 

Thursday, 20 November 2014

Assessment - Creation of Hair Piece - Futuristic Hair Veil

Divide the synthetic hair into three thick strands 
Create two plaits about a metre long each
Using craft wire create a heart shape with two
over lapping twists at the top to connect to the
hair of the model.
Wrap the plait around the wire frame adding
silver chain to weave between the heart.

Tuesday, 18 November 2014

Alexander McQueen Spring 2010 - Giger Inspired (Alien)

Vogue - "Then the models’ tight, snake-like plaits were freed and their hair stood straight up behind them, their faces built up at the bridge of the nose and forehead and their alien status confirmed by iridescent beaded leggings and swathes of petrol printed organza swept around their upper body"
The connection between this image of a Xenomorph form Giger's collection of Alien drawings and the hair designs for McQueens Spring show of 2010 is most apparent within a side by side comparison of these two images in particular. The use of tightly wound plaits pulled backwards into a fin shape at the back of the models head is resonant of the tall ridged skulls of Giger's creations, the ease of a plait to create a rigged texture is highly effective here and it is through this that the futuristic, machine like texture is created through completing a smooth tight plait. Despite the contemporary connection to that of futuristic sci-fi there are still elements of Elizabethan influence within this hair style through the ornate plaits and voluptuous frizzing. In addition to this is the makeup which is pale and brow less, by doing so the styling for McQueen's show demonstrates how effortless the link is between Renaissance beauty stylings and that of contemporary avant garde. 
Alexander McQueen Spring 2010
http://www.pinterest.com/pin/527765650056619602
Giger Alien
http://www.wired.it/play/cultura/2014/05/13/giger-morto/

Assessment - Practice of Grace's Design (B) (Part 3)

I felt that this was by far the most successful practice of Grace’s design and the whole look was tied together nicely by the addition of the gold pins and hair spray. By using a small barrel curler I was able to create small neat pin curls that laid flat over the top of the head to create an ornate hair design at the front reflective of a crown. Grace had said that she wanted the back of her hair design to have a lot of volume that would be created through a combination of curling and frizzing the hair as well as backcombing the bottom layers to push the hair up. Although Grace has long hair it is not to thick which means I am able to get through the crimping much quicker and also means that the backcombing process is easier. Despite how successful this practice was there are still elements for improvement for the final assessment, the first of which being that the pin curls need to be polished off and any baby hairs removed from the face as they cause too much of a fluffy appearance on camera as you can see in the image (below right). In addition to this bottom section of the hair that is crimped needs to be done on less hair so that the middle frizzed section blends more effectively ingot he rest of the hair. The longer sections of hair that were frizzed created a nice blend however this would need to be done on more hair to create a smoother appearance at the sides. 

Monday, 17 November 2014

Assessment - Pin Curl Practice for Grace's Design Part 2 & Colour Hairspray Test (Silver) My Design (A&B)

As you can see within these images the silver hairspray that I intended to use within my final hair design was very successful. I previously had doubts as to whether the silver would show up on my own brunette hair, therefore by testing it on the dolls hair (which is of similar colour to my own) I was able to see what level of coverage the product gave and how many layers would need to be applied. Within this session my partner was absent therefore I also used the doll to practice my skill at creating pin curls which despite not being taught how to do within our technical files, through practicing on both the doll and model I feel I was able to do relatively successfully. Grace's design also features the use of coloured hairspray therefore by getting used to applying the product to the hair it would benefit me within the later assessment.

Assessment - Practice of Grace's Design (A)

Sunday, 16 November 2014

Assessment - Notes For Me (B) of Tools and Instructions For Grace's Design (A)

Equipment List
  • Small Barrel Curlers
  • Small Crimpers
  • Sectioning Comb
  • Paddle Brush
  • Blonde Kirby Grips
  • Protective Cape
  • Sectioning Clips
Products
  • Strong Hold Hairspray
  • Pearl Embellished Hair Pins
  • Bronze/Gold Hairspray
Step by Step
  • Place a protective cape around the client to protect their clothes from any heat or product.
  • Run a consultation to ask about any contraindications/allergies/medications and general questions about the clients hair type etc.
  • Gently brush the hair through to remove any knots and tangles.
  • Turn on curlers.
  • Divide the front section of hair from the top of the ears forwards and separate into a middle parting.
  • Taking the back section of the hair crimp from the bottom row to upwards towards the top section.
  • Now taking the front section work from the middle divide out to create rows of pin curls working from 4, 3, 2, 2, 1 down toward the ears. 
  • Ensure that the curls sit forward at the front of the head to create a harsh hairline.
  • Hold the curls onto the tongs for a few seconds to ensure a symmetrical pattern across the head. 
  • Pin each curl flat against the head with one pin laid diagonally across each curl.
  • Hide all baby hairs using some strong hold hairspray and to secure the pin curls and frizz.
  • Gently backcomb the roots of the crimping to create more volume. 
  • Spray the front section of the hair with the pin curls with bronze/gold hairspray ensuring that the back section remains untouched..
  • Finish the hair by decorating the pin curls with pearl embellished hair pins to create the illusion of a hairpiece. 

Grace's Final Design

Saturday, 15 November 2014

Contemporary Hair Colour - Futuristic Metallics

Junya Watanabe F/W 2000
http://powderdoom.tumblr.com/post/
70196954393/
http-notordinary
fashion-tumblr-com
Within the Elizabethan period the hair colour of fashion was that of a golden/copper/red tone, this was often dyed using oil of vitriol and rhubarb juice to brighten the colour further to create a truly bold golden tone. Due to the nature of the products used to create the copper tones featured within Elizabethan hair and the lack of personal hygiene it is likely that the hair would be rather dry and brushy to the touch. In addition to this the use of powder and violet to soak up excess dirt and oil would retain into the hair further enhancing this gritty texture, within my contemporary hair design this was a feature that I wanted to retain as an extra element of 16th century influence however the choice of colour may be used to enhance the contemporary essence.
http://www.beautyschool.com/blog/beauty-videos
/get-a-city-chic-look-with-metallic-hair
When deciding on what colour would be most appropriate I opted for a futuristic tone which is an opposite of the fashionable golden tones of Elizabeths reign. This led me to the use of Silver and metallic tones, this is a concept that has been used within a number of fashion shows such as Watanabe's Fall/Winter collection in the year 2000 where the use of silver metallics and studs marked the stepping into a new millennium, however within this instance the silver is marking of a contemporary Elizabethan design. The makeup used within this fashion show further enhances the Elizabethan styling through the pale face and removal of eyebrows. Overall the look is highly New Elizabethan.
The second image is another example how through simply changing the choice of colour used within a hair design the whole period of the image is changed. If this image was created using golden tones within the hair while retaining the pale face it would more resonant of a historical Elizabethan design, however by changing the tones to that of silver (including the metallic ruff) the whole concept is brought forward into a futuristic element. The use of silver is something that I want to include within my own final look as it is an effective way of creating a futuristic element for a historical design concept. I also hope to include the use of metals within my final creation as well as historical aspects such as pearls and other jewels to maintain the historical link.

Friday, 14 November 2014

Historical Research - Elizabethan Colouring & Hair Loss

Book Ref: 'Encyclopedia of Hair: A Cultural History', Victoria Sherrow, Greenwood Publishing Group Inc, 2006

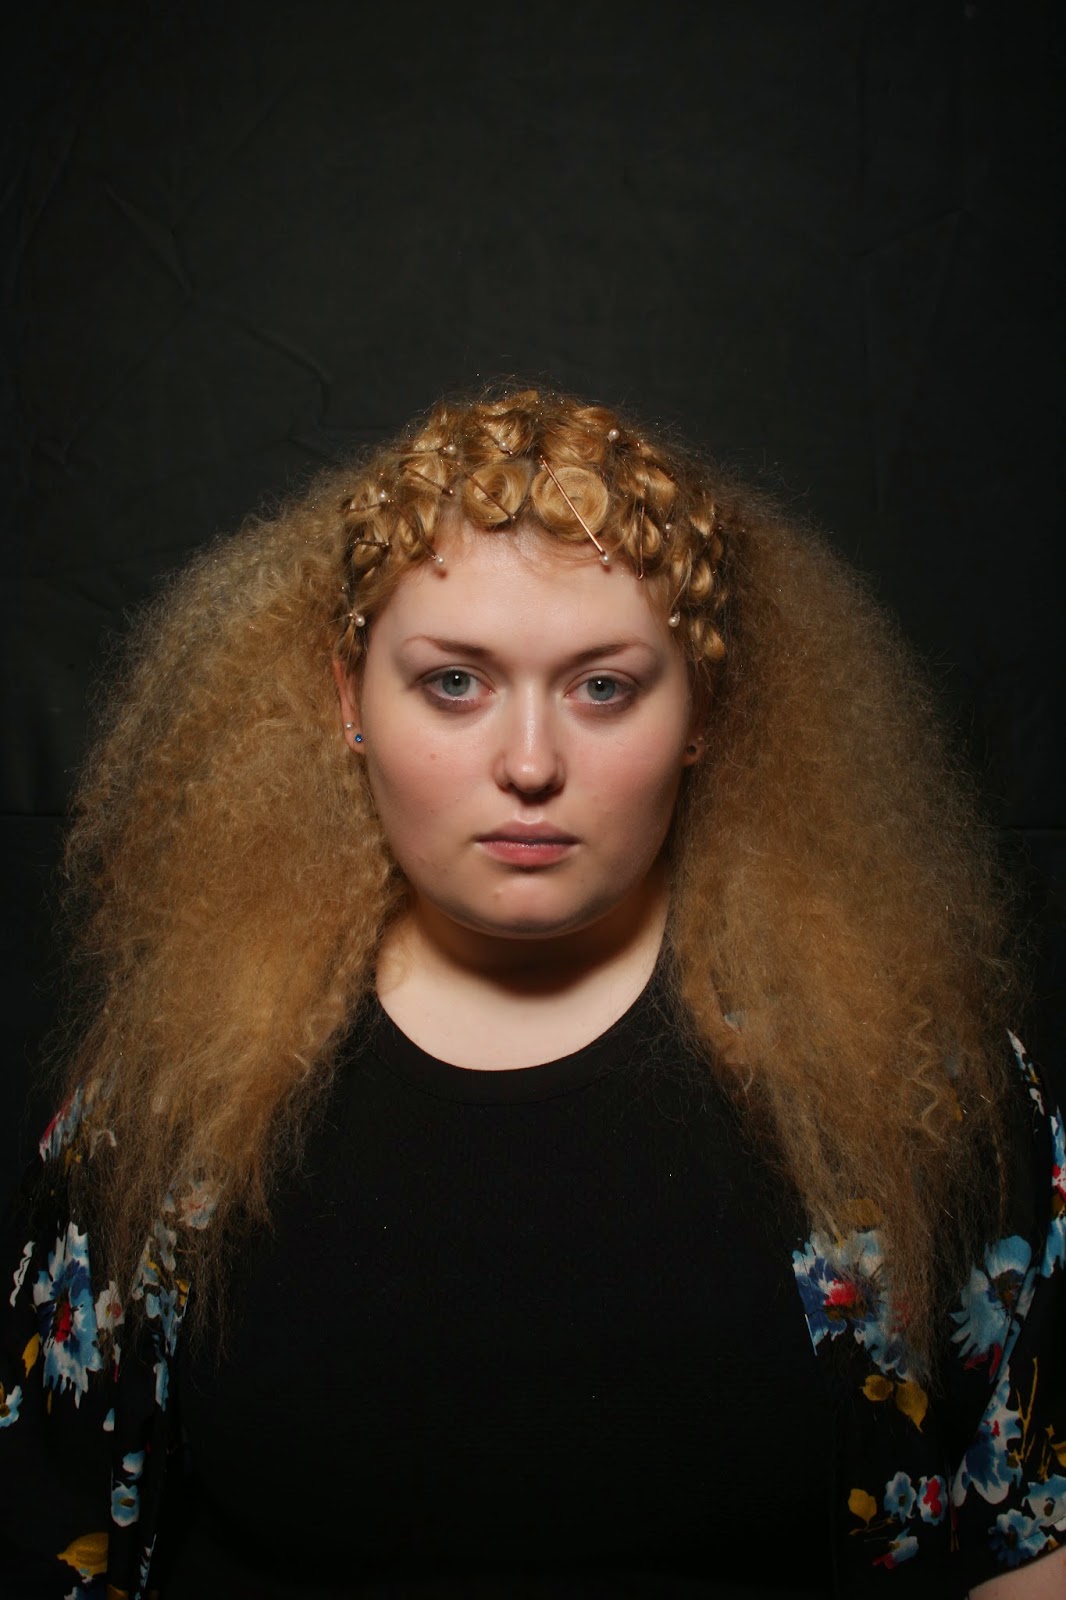
Within the Elizabethan period the fashionable obsession to have the hair curled, frizzed, padded and coloured put tremendous pressure onto the wearers hair structure. The desire to achieve the golden red locks of the Queen often meant that many women and men faced issues with hair loss, skin poisoning and serious illness as a result of the chemicals placed onto the scalp. This was an issue that affected women and men alike as the fashion continued to grow throughout the 16th century. The hair shade of desire was that of Elizabeth I shimmering reddish gold that she possessed naturally throughout most of her young life, obviously most women were not born with this natural hue and therefore resorted to dying their hair, or if the hair would not colour to removing it completely for the purpose of perri wigs.
Many of the red dyes used on the hair contained a series of poisonous ingredients, and even the most effective of colours came with hazardous results suffered by even the Queen herself. One hair dye in particular included ingredients such as oil of vitriol and rhubarb juice, the oil being a corrosive sulphuric acid substance that ate away at the hair often damaging the scalp in the process. In addition to this as the hair was not often washed within this period the effects of the colourant were long lasting once activated often resulting in ongoing baldness and chemical burns. Shampoo was not yet an invention and therefore excess oil and dirt was merely masked through powdering the hair with a powder mix of flour and violet. Violet evidently was most effective for masking the small of dirt within the hair. Once the hair had been destroyed many women were left with no other option than to wear a wig to maintain the fashionable illusion of red hair however these too, in a period before wig caps, irritated the scalp and furthered the damage already caused through the chemicals.
This obsession with red hair went so far that men would colour their facial hair to match and it is reported that even the Queens horses had their manes and tails stained a reddish gold hue to match that of her majesties wigs.

Monday, 10 November 2014

Contemporary Inspiration - Alien Xenomorph/Science Fiction

Xenomorph Queen
http://static.comicvine.com/uploads/original/4/
40422/4111041-the_alien_queen_by_d17rulez.jpg
When examining the numerous portraits that feature Elizabethan hairstyles and the contemporary reconstruction's of Schauwecker and Nielsen, the repetitive features of the heart hairstyle and tall structured shaping kept bringing my attention to contemporary and futuristic comparisons. One comparison in particular that was resonant throughout my analysis was that to the cult sic-fi classic 'Alien' whose creatures were designed by artist H.R. Giger. In particular my attention was drawn to that of the 'Queen' within the Alien film series whose head shape was reflective of the structures of Elizabethan hair design, featuring a tall, rounded and heart shaped head that extends far from the face.
Within Elizabethan hair and fashion the link to alien futurism is highly apparent as the lack of eyebrows and high forehead leave the face appearing somewhat expressionless and strange. This futuristic element is only enhanced further by the use of the tall rounded hairstyles that create an unusual head shape. In addition to this the series of spikes and bumps featured on the creations by Giger is resonant of the use of jewels and beads used within Elizabethan styling such as pearls and rubies. This connection between the unusual features of Renaissance beauty and that of futuristic alien designs is so apparent that it has also been featured within the catwalks of Alexander McQueen Spring 2010 where much of the hair design and fashion was inspired by Giger's creations. The only prominent difference within the shape of the alien head and Elizabethan hair is the way the heart faces, within Elizabethan portraiture the heart shape is high on the head and therefore stands upwards however within Giger's drawings the heart faces the other way as it sits further back on the head and therefore faces downwards when the head is raised. Simply by switching the way the heart shape faces completely alters the connection of the design and brings the feature forward into a more futuristic reference. The heart shape is something I would like to include within my final design however I will be taking more inspiration from the use of the shape within the Alien films than that of conventional Elizabethan hairstyling as I want to bring my contemporary design even further forward into a futuristic Elizabethan concept similar to that of Schauwecker and McQueen. 

Sunday, 9 November 2014

Historical Inspiration - Curls and Veils

The Kitchner Portrait of Queen Elizabeth I,
John Dee, 1580
http://beingbess.blogspot.co.uk/2012/09/
elizabethan-
fact-of-day-john-
dees-home.html
The Ditchley Portrait of Queen Elizabeth I, 
Marcus Gheeraets the Younger
http://happyandgloriousblog.blogspot.co.uk
/2013/01/royal-documents-elizabeth-
is-golden.html
The veil is a reoccurring feature throughout many portraits of Elizabeth I, the use of a veil enhances the heart shape of the hair or rather creates one if the hair is simply curled without a shape. Within this first portrait of Elizabeth entitled The Ditchley Portrait the use of a veil is far more extravagant and is visibly highly ornate with rubies and pearls. The use of a veil demonstrated regality as the fabric required to make one was expensive and delicate, therefore often only the Queen was pictured with them. It is clear that the shape of the veil behind Elizabeth's head is of two distinctly rounded shapes that appear as if they could form a heart however as portraits are never painted from behind the sitter it is unclear what final shape they form. Regardless under the assumption that they meet to create a heart (which is a popular shape within Elizabethan hair design) the use of such a decorative piece could be included within my own final hair design.
The second image also features a veil but is a more casual shape and retains focus on the actual heart shape of the hairstyle. The veil is visibly made from a similar translucent fabric but features decoration around the edges of the mesh fabric, this veil is also softly decorated with what appears to be pearls - a popular choice for Elizabethan jewellery as it symbolised virginity. Commonly the edges of the veil were decorated with a gold threaded trim (as can be seen in this portrait) and this would carry up into the actual hair. Metallic features are a popular concept within Elizabethan headdresses and would therefore be a suitable addition within my own final hair design for creating a headdress or the colour of the hair itself.

Final Hair Design

Friday, 7 November 2014

Final Elizabethan Portrait & Contemporary Example

The Kitchner Portrait of Queen Elizabeth I, John Dee, 1580
http://beingbess.blogspot.co.uk/2012/09/elizabethan-
fact-of-day-john-dees-home.html
'The Kitchner Portrait' of Elizabeth I by John Dee was my key inspirational image from the Elizabethan period mainly due to the shape around the hairs outline and the use of a veil which I felt gave an extra decorative element to the overall portrait. The use of Elizabethan heart shapes and veils reminded me significantly of the contemporary film 'Alien' in which the creatures also possess heart shaped heads that extend backwards like a veil. Within this portrait the sides of the veil are visibly ornate with a delicate gold trim. In addition to this there are cross sections of decoration that thread through the veil acting as a decorative meshing. My idea for my final design would be to incorate this style of meshing together of materials into a hair piece that would be attatched to the back of my head. This would enable me to include the classic Elizabethan heart shape into my final design. The use of gold is a common metallic feature within Elizabethan hair therefore the inclusion of a metallic of some description would add a further link to Elizabethan portraiture.
Within the hairstyling of the portrait it is clearly visible that the hair is wound into tight curls all over the head. These tight curls were a traditional feature within 16th century hair styling and therefore would also be relevant to include within my final design, as I myself possess short hair these tight curls would be easily recreated using a small wand barrell curler. Like in the portrait by using a small curling wand the curls would also be allowed to stand upright creating a similar texture to that used within the image of Elizabeth I.

Indira Schauwecker - Toni & Guy Awards
http://costumeclotheshorse.tumblr.com/
post/41537744465/greatbritt-
i-was-inspired-by-insect-queens-for
http://www.interviewmagazine.com/fashion/guido-
1#slideshow_69777.1
For my contemporary hair design I will most likely combine the style of these two images pictured above to create a contemporary take on Elizabethan hair design. The tight curls featured on the  model to the right are significant in their recreation to both male and female hair styling within the 16th century and would supply an effective connection between both Elizabethan and modern styling. However to add that extra element of creative design to my final look I want to recreate a hair piece in the style of an Elizabethan veil, this will most likely be heart shaped and feature the use of hair the same colour as my own hair. The image to the left is an example of how I might achieve this though the use of structured hair pieces.

Thursday, 6 November 2014

Indira Schauwecker Futuristic Elizabethan - Extreme Plaits

Internet Ref: 'Ask The Expert - Indira Schauwecker', Micheal Palmer, http://www.salonsdirect.com/blog/indira-schauwecker/


Indira Schauwecker - Toni & Guy Awards
http://costumeclotheshorse.tumblr.com/
post/41537744465/greatbritt-
i-was-inspired-by-insect-queens-for
Indira Schauwecker is an avant garde hairstylist who has won numerous awards for her hair designs, she is also the creative director at Toni&Guy and renowned for her groundbreaking artistic hair creations that have graced many a catwalk and magazine. In 2012 she won the 'Avant Garde Hairdresser of the Year' award for her creations below that were a futuristic take on Renaissance fashion and headdresses. It is clear from the heart shaped structures that bow elegantly away from the head that these designs are reflective of the Elizabethan hoods and crowns worn by figures of wealth and Elizabeth herself. The larger image in particular is resonant of the large ruff collars that were also worn around the necks of the wealthy with the larger and more extravagant the ruff, the more wealthy and beautiful the woman. However because these styles have been created purely out of hair the essence is somewhat futuristic and alien in co-ordination with the bleached brows and strong lip. 
Schauwecker's designs here are an example of how Elizabethan plaits can be taken to the next level when incorporated with wire structuring to support certain shapes, much like the headdresses of the period would have been. It is also inspiring as she has taken historical concepts and recreated them in a different material to create something completely new and futuristic. It encourages an idea to create my own separate hairpieces that could be incorporated into my own final Elizabethan hair design but also to challenge my creativity to produce pieces that push the boundaries of a set concept, to create a completely unique piece that mimics, rather than copies Elizabethan influences. Structured avant garde hair design is something that I would like to include within my final hair design for the assessment as I feel it is an effective way of elaborating upon Elizabethan design to create a contemporary look.
Schauwecker's designs here in particular are particularly inspiring to me as they are almost alien in style yet retain that Elizabethan feel through the use of heart shaping and plaits, however by thinning the sections of hair and creating almost rides of structure it gives the final look something similar to that of contemporary science fiction. This is a concept I truly admire as it is taking the two extremes of historical influence and unknown futuristic elements to create a look that belongs almost to a period of its own.  
Indira Shauwecker - Toni & Guy Awards
http://costumeclotheshorse.tumblr.com/post/
41537744465/greatbritt-i-was-
inspired-by-insect-queens-for

Practical - Reverse Heart Shape with Braid

Health & Safety: Always run a consultation with the client asking about their hair type, condition, coloured or natural, allergies, medication and any contraindications that may prevent you form touching the clients hair. This should be done to lessen risk of transferal of diseases or infection.
Place a plastic wrap around the client to protect clothing. 
Products Used:
  • Small Barrel Hair Curlers (with clamp)
  • Small Hair Crimpers
  • Kirby Grips
  • Small Hair Pins
  • Hair Slides
  • Sectioning Comb
  • Denman Brush/Paddle Brush
  • Two Pieces of Padding
  • Hairspray
Process of Creating Reverse Braided Heart
  1. Divide the hair into two sections with the bottom section being a triangular shape coming from the bottom of the ears upwards. 
  2. Crimp the whole front section of hair ensuring to get the crimpers as close as possible to the root of the hair without burning the scalp or causing discomfort.
  3. Split the crimped front section of the hair into 1/3rds and separate the front section from the back two to create a larger and thinner half. 
  4. Create two french plaits on either side of the head between the front split sections to create an anchor point for the padding to sit on, twist he ends of the plait round and pin into place. 
  5. Taking two small, oval pieces of padding pin them onto each plait so they sit roughly above each eyebrow but allowing for a small gap in between.
  6. They should form a rough heart shape at this point. 
  7. Taking the back section of the crimped hair, backcomb at the root and bring it over the padding to the front and pin into place. 
  8. Using the end of the sectioning comb position the hair so the padding is covered as much as possible. 
  9. Tease the roots of the front section of hair and bring the hair backwards and pin into place.
  10. Smooth over with the comb to create two fully rounded sections of hair. 
  11. Now using the bottom section of hair that had been left out bring the hair create a reverse french plait from the nape of the neck upwards towards the top of the hair.
  12. Continue the plait into a regular plait and pin between the two pieces of padding to divide the heart shape. 
  13. Finish with hairspray. 
Evaluation 
From previous practices at placing padding into the hair, crimping and finishing a hairstyle I felt that this process went much more smoothly than previous attempts however there is still always room for development. For example my crimping technique still required improvement as some of the pieces of hair did not meet up as symmetrically as I would have liked, because of this it made the overall look a little uneven and scruffy. Even on a modern couture look it would still be essentially for the hair to be crimped evenly. Perhaps my favourite feature of the whole look was that of the reverse french plait as I feel it created a unique contemporary flare to the otherwise plain heart shaped design, I actually expected this element of the hair design to be the most challenging but this was infact the easiest piece to complete because of my practise with plaits in the past. My areas to improve on our definitely my crimping technique and finishing off the hair to remove any flyways and polish the overall final look, however I was pleased with the outcome of the plait which remained relatively tidy.

Wednesday, 5 November 2014

Practical - Elizabethan Hair Practice (Thick Hair)

Health & Safety: Always run a consultation with the client asking about their hair type, condition, coloured or natural, allergies, medication and any contraindications that may prevent you form touching the clients hair. This should be done to lessen risk of transferal of diseases or infection.
Place a plastic wrap around the client to protect clothing. 
Products Used:
  • Small Barrel Hair Curlers (with clamp)
  • Small Hair Crimpers
  • Kirby Grips
  • Small Hair Pins
  • Hair Slides
  • Sectioning Comb
  • Denman Brush/Paddle Brush
  • Two Pieces of Padding
Process of Creating a Padded Hairstyle
  1. Take a sectioning comb and begin by dividing the front of the hair from the ears forward and the back for heat styling.
  2. Take a small section from the bottom half of the head and smooth into a tight ponytail. 
  3. Style the front section into an even section of standing pin curls using the small barrel curlers.
  4. Frizz or crimp the back section from the nape of the neck upwards towards the curled section. 
  5. Taking a small section of crimped hair from between the curls and the rest of the hair and complete a french  plait on each side of the head that follows along the scalp from right to left, finish the rest of the plait and pin back underneath the rest of the braid. 
  6. By creating two anchor points this should work as a base for the two pieces of padding.
  7. Using small hair pins push the pins through the lining of the padding.
  8. Pinch the pins and push them into the french plait to secure the padding to the plaited anchor point of the hair.
  9. Using the hair below the padding take it up over the padding, smoothing to fully cover the fabric. 
  10. Secure again with small hair pins.
  11. Bring the rest of the frizzed hair from the front section back over the padding.
  12. The curls can now be removed and styled as desired. 
  13. Now that the top of the hair has been styled accordingly the bottom ponytail can be placed into a bun. 
  14. Using the end of the sectioning comb the hair can be slightly separated and adjusted to cover any small gaps that may have appeared during styling that expose the padding.
Evaluation
This was definitely not my best attempt at an Elizabethan hairstyle and much of this was too do with my time management abilities and the models own hair. The hair of this model in particular was much thicker than the hair I had previously worked on and therefore I would need to work much quicker in future to complete the design on time, in addition to this it was my first experience whereby the situation was presenting challenges. During the preparation for this hair design my model did actually fall asleep a few times while curling her hair, this not only presented dangers as if I hadn't of been paying attention I could have potentially burnt her but it also meant the whole curling process took much longer than it should of. Because of my lack of time it meant that for the final design I was unable to pin the curls back properly over the padding to create a decorative style. Instead the curls were left hanging loosely which was more reflective of a ‘Pride and Prejudice’ hairstyle than that of 16th century. I feel that if i had 5 minutes more time or even if the model hadn't of fallen asleep I would have been able to pin the curls back into the desired style and create a far more polished and historically accurate final look. Finally due to the lack of time that I had remaining for the hair design the bun was also less polished and shaped than I would have liked. 

Tuesday, 28 October 2014

Historical Referencing - Male Elizabethan Hair (Sir Walter Raleigh)

Book Ref: 'The History of Hair', Ann Charles and Roger DeAmfrasio, New York: Bonanza Books, 1970
'Encyclopedia of Hair: A Cultural History', Victoria Sherrow, Greenwood Publishing Group Inc, 2006
Sir Walter Raleigh,
http://www.historylearningsite.co.uk/
sir_walter_raleigh.htm

Within the 16th century the male Elizabethan took as much pride in his hair as the women of the period with barbers dedicated to shaping, colouring and maintaining the beard and hair. Often men would use a starching powder the stiffen their hair to allow for the hair to maintain its shape for a longer period of time. The hair was commonly styled into small curls called 'lovelocks' which were created by wrapping the hair around thin iron rods that were heated to create the curl, however this style did not come into fashion until the later half of Elizabeths reign when longer hair became more suitable for the gentlemen. Before this hair was cropped more closely with the main focus being on that of the beard, but the concept of the curl remained a feature throughout the period. 
http://www.interviewmagazine.com/
fashion/guido-
1#slideshow_69777.1
One example of the 'lovelock' is that of Sir Walter Raleigh, an Elizabethan explorer and writer who was favoured by the Queen during the early years of her reign. Raleigh's portraits are iconic due to the shape of his beard, pearl earring and most importantly perfectly curled dark brown hair. Raleigh offers an excellent example of the type of hair desired by the male gender within the Elizabethan period as it perfectly embodies the fashion of the time period. 
This image taken from Guido Palau's 'Hair' is a perfect contemporary demonstration of how the use of small tight curls used for this hairstyle is resonant of the male Elizabethan hair fashions of the time period. At the beginning of Elizabeth's reign the fashion for male hair was to be short and tightly curled to the crown of the head, and it was not until the early 17th century and end of Elizabeths reign that longer curls became fashionable. This use of tight curling is an excellent example of something that could be done for my own final hair design as long Elizabethan waves would be highly unattainable on my own short hair.